Developing Wowza modules usually includes setting up the Wowza IDE (or a standard Java IDE). It may or may not auto-generate an ant build script that packages the sources as a jar library and deploys them to the local Wowza server. That is all pretty good… but you still have to do manual tasks like running test suites and restarting the service! This Gradle thing is nothing short of magic! Building Wowza with Gradle offers great opportunities for continuous integration and build automation. With just one command you can compile, run tests, package libraries, build, deploy and restart your local Wowza instance with the new module in place. Count the times you do all that in a day and you’ve got yourself a time-saver!
A few other tricks Gradle can do for you is set up your project for Eclipse-based editors or Idea, directly from your sources. This way it is easy for team members to use their editor of choice without imposing it on the whole team. Add the dependency management capabilities and it should already sound like magic.
I’ve put together a small example that does all of the above. Let’s quickly list the operations that it can do:
- generate IDE project (Eclipse or IntellijIdea)
- download and manage dependencies from the repository of choice (like Maven repository)
- compile your project classes
- run tests
- build Wowza module jar
- embed desired dependencies in a jar while building
- deploy the jar to a local Wowza
- restart the local Wowza service
We will get into all that, but first, let’s talk about what this sample project does. It is a simple Wowza module that uses some Apache libraries to call an HTTP service when a user connects to the application. There is also a small unit test for the method which calls the HTTP service just to exemplify Gradle’s test running abilities.
Prerequisites
This project depends on a series of other software components that need to be installed on your computer.
Installing and configuring these products is not covered in this post.
You can download the project sources from this GitHub repository.
Setting IDE Project
After downloading the sources, open a console in the project directory (where gradle.build resides) and type:
gradle eclipseor
gradle ideadepending on the IDE of choice. Gradle will then generate all required project files and folders so your project can be imported without any fuss.
Now just import the existing project and you’re good to go!
Configuring Your Setup
Local Machine Setup
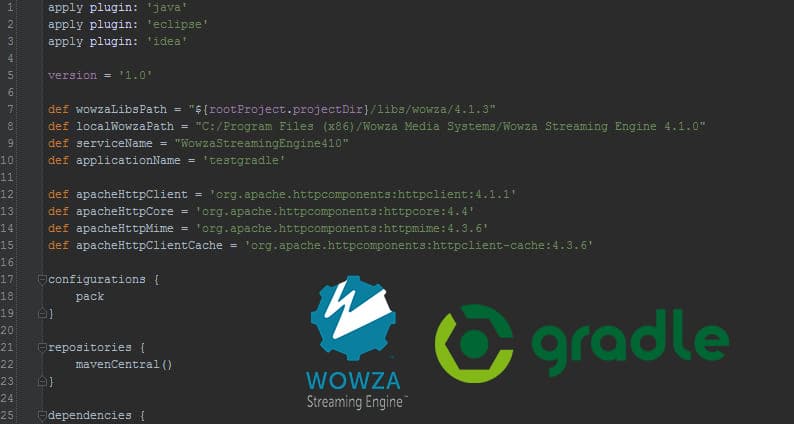
In the build.gradle file, locate the following lines:
def wowzaLibsPath = "${rootProject.projectDir}/libs/wowza/4.1.3"
def localWowzaPath = "C:/Program Files (x86)/Wowza Media Systems/Wowza Streaming Engine 4.1.0"
def serviceName = "WowzaStreamingEngine410"
def applicationName = 'testgradle'
The first value is wowzaLibPath. It denotes the path to the folder containing the Wowza libraries. It is set to a project folder into which I’ve copied the jars from several Wowza versions. This is useful when you wish to run the tests against more than one version of Wowza. You may leave that as is or you can specify the path to the local Wowza installation /lib folder. Changing this value will not have any impact on the build jar.
The second parameter is localWowzaPath. As the name says, this should point to the Wowza folder on your machine. It is used by the deploy command to create a new application and copy the build jar into wowzaPath/lib.
The third value is serviceName. This is the name of the Wowza service (if you have set it as a service in the OS). In Windows, you can check that in the task manager (Ctrl+Shift+Esc), Services tab, under Name column. When you call the restartWowza, stopWowza and startWowza tasks from the Gradle script, that service name will be used to execute the command.
The fourth one is applicationName. This will be your test application name, in Wowza, for the deploy task. An application with that name will be created and the Application.xml from the project root will be copied to <localWowzaPath>/conf/<applicationName>.
Embedded Dependencies Setup
In some cases, you might want to package some dependencies into the build jar. In this case we will package the Apache HTTP libraries.
dependencies {
    pack([group: 'org.apache.httpcomponents', name: 'httpcore', version: '4.4'],
         [group: 'org.apache.httpcomponents', name: 'httpclient', version: '4.1.1'],
         [group: 'org.apache.httpcomponents', name: 'httpmime', version: '4.3.6'],
         [group: 'org.apache.httpcomponents', name: 'httpclient-cache', version: '4.3.6']
    )
...
}
...
task packageJars(type: Jar) {
    manifest {
        attributes 'Implementation-Version': version
    }
    baseName = project.name
    from { configurations.pack.collect { it.isDirectory() ? it : zipTree(it) } }
    with jar
}
The pack configuration is used to mark the dependencies for packaging in the build jar. If you do not wish to package dependencies in the jar and instead want to copy them in the Wowza lib folder, just move those libraries to the compile configuration, instead of pack. Otherwise, you could remove the following line from the script, with the same result:
tasks.build.dependsOn(packageJars)You could point out that configurations.pack.collect could be configurations.compile.collect and there would not be a need for the pack configuration. That is correct, however, the compile configuration includes the Wowza libraries which would be also packaged in the jar. You really don’t want that because the results will be hard to predict. You might get class-loading errors on runtime or the packaged Wowza libraries will override the Wowza distributed ones with possible side-effects (not sure… I haven’t checked).
Building Wowza with Gradle Tasks
Let’s quickly look at what the build script can do and how to use the magic.
The first thing you want to do after setting up the project in your IDE as per the instructions above is build your Wowza module jar:
gradle buildThis will call some other tasks as well: compileJava, processResources, compileTestJava, test, check, packageJars then build. To only run the tests, you can use:
gradle testRunning the build task will only generate the jar in the projectPath/build/libs. To deploy the jar in the local Wowza, you can use the deploy task.
gradle deployNote that the deploy task depends on build. That means that whenever you deploy, the build task runs again. This way, you can skip the build command and just deploy. If you don’t like that and want a standalone deploy that will use the previously generated jar, modify the deploy task signature as follows:
task deploy(dependsOn: build) {
//becomes
task deploy << {
And now, all that is left is to restart the Wowza service.
gradle restartWowzaOr, for more granularity and control, you can separately stop and start the service.
gradle stopWowza
gradle startWowza
Note: If you use the Gradle wrapper, the commands are gradlew <taskName> instead of gradle <taskName>.
Further, I recommend checking out this Wowza Gradle Plugin that simplifies the use of Gradle on your Wowza projects.
I hope you find this sample useful! Feel free to modify it, share it and comment it!